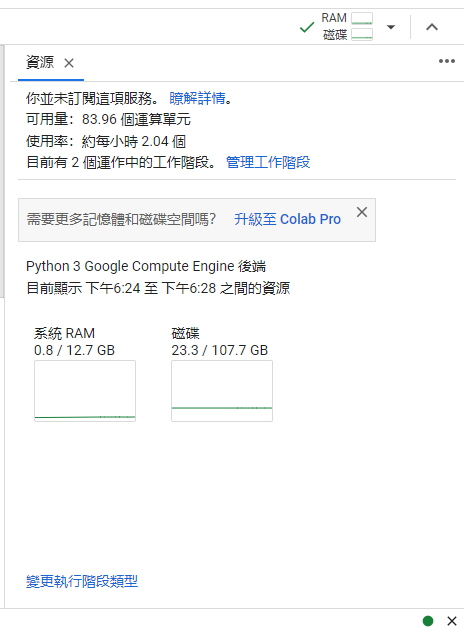
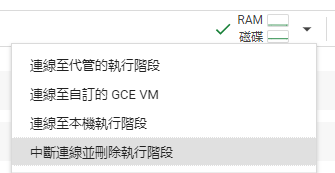
如果有看影片介紹或是實際測試過會知道有沒有用 GPU CUDA 速度會差非常多,所以我們加了 --device cuda 參數。但也同時要開啟 Colab 執行階段的 GPU。連線後點選顯示 RAM、磁碟的圖示:
會進入到資源分頁:
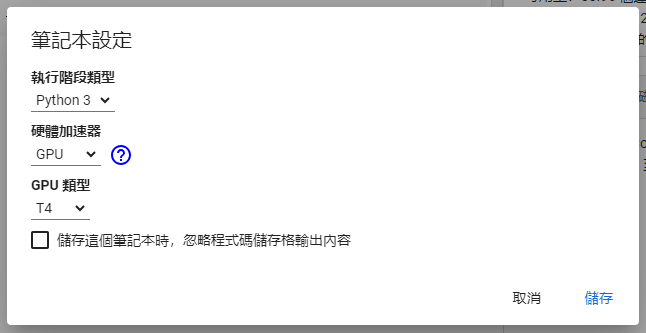
選擇 變更執行階段類型,開啟 GPU,應該只要用到 T4 即可:
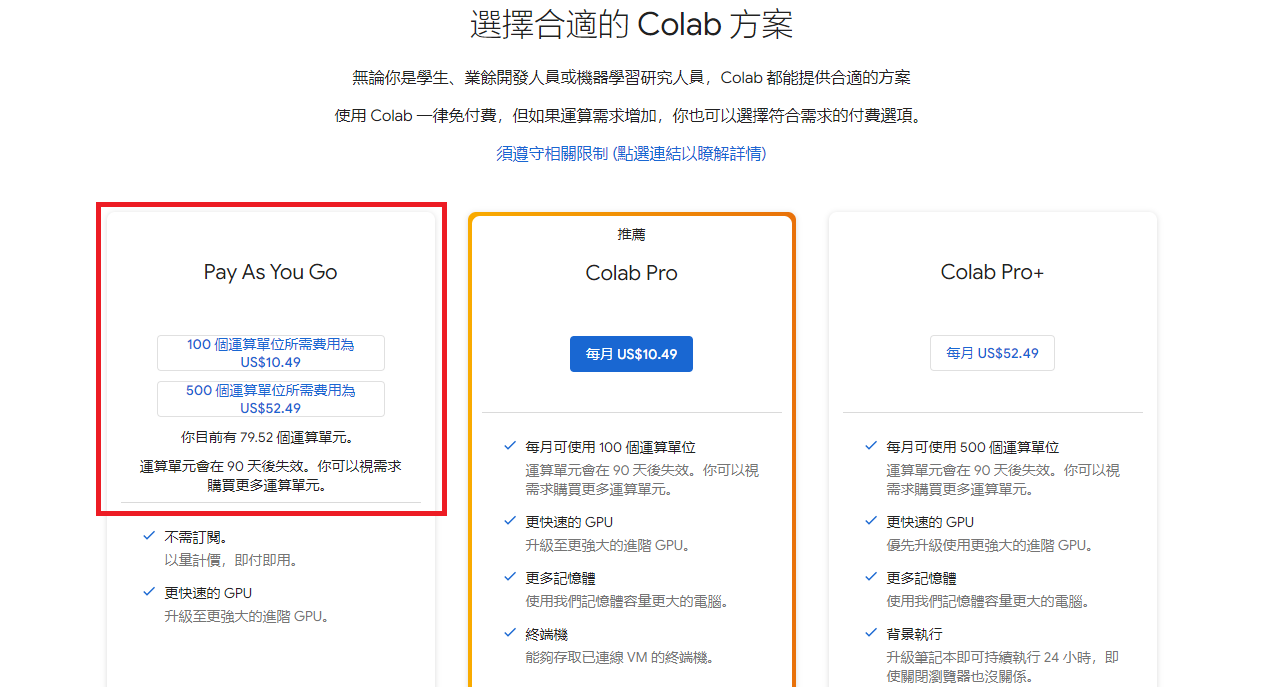
如果沒有閒置 GPU 可以使用會需要付費,點選 瞭解詳情。Whisper 使用應該用 Pay As You Go 就好,我只有買 100 單位,依照經驗使用一小時大概耗費 2 ~ 4 單位上下,100 單位可以用很久。(注意運算單元有使用期限 90 天,一次不要買太大量)
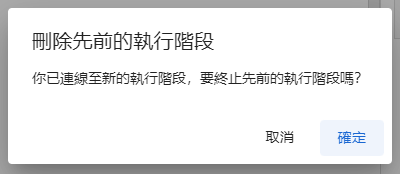
設定後會要重新連線,選擇確定:
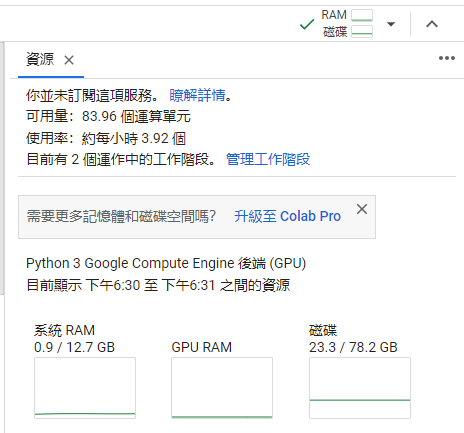
設定成功會看到資源分頁多了 GPU 資訊:
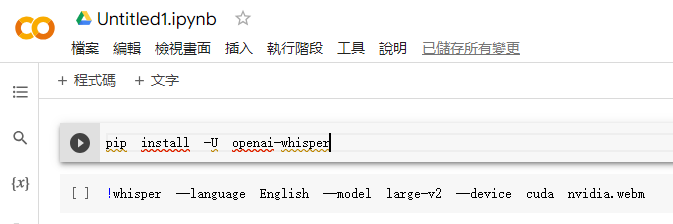
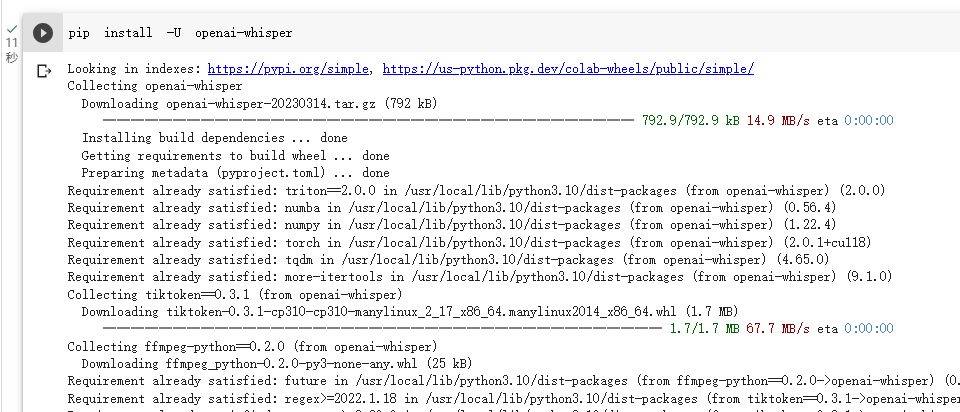
準備就緒後執行 PIP 安裝 Whisper:
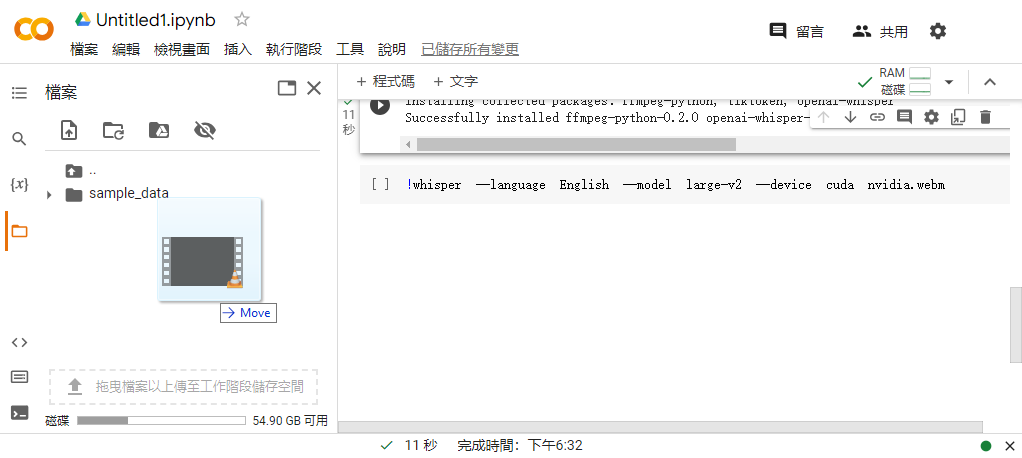
點選畫面左邊的資料夾圖示,拖曳上傳要製作字幕的聲音或是影片:
有的時候會覺得 Colab 的上傳很慢,其實也可以連結到 Google Drive。先上傳到 Google Drive 再搬到 Colab 根目錄,或是 Whisper 命令直接路徑輸入 Google Drive 路徑都可以。使用完畢後建議再按同一個按鈕撤銷 Google Drive 對這個 Colab 筆記的授權:
fromfaster_whisperimportWhisperModelimportmathdefconvert_seconds_to_hms(seconds):hours,remainder=divmod(seconds,3600)minutes,seconds=divmod(remainder,60)milliseconds=math.floor((seconds%1)*1000)output=f"{int(hours):02}:{int(minutes):02}:{int(seconds):02},{milliseconds:03}"returnoutputmodel_path="whisper-large-v2-ct2/"# Run on GPU with FP16model=WhisperModel(model_path,device="cuda",compute_type="float16")# or run on GPU with INT8# model = WhisperModel(model_size, device="cuda", compute_type="int8_float16")# or run on CPU with INT8#model = WhisperModel(model_size, device="cpu", compute_type="int8")segments,info=model.transcribe("file.mp4",beam_size=5)print("Detected language '%s' with probability %f"%(info.language,info.language_probability))count=0withopen('file.srt','w')asf:# Open file for writingforsegmentinsegments:count+=1duration=f"{convert_seconds_to_hms(segment.start)} --> {convert_seconds_to_hms(segment.end)}\n"text=f"{segment.text.lstrip()}\n\n"f.write(f"{count}\n{duration}{text}")# Write formatted string to the fileprint(f"{duration}{text}",end='')